Test Patterns with AeDisplay
Setup
Verify the following models are added to the AeDisplay_config_tgts.cfg file which should be located in E:\CM\data\custom
- COMMON/RELEASE/V1/DB/DB_MOVING_MODELS/TESTPATTERNS/CONTRAST/CONTRAST_SPHERE/CONTRAST_SPHERE_5DEG.hie
- custom/MODELS/SURFACE_HIGHLIGHT_BRIGHTNESS/SURFACE_HIGHLIGHT_BRIGHTNESS_<program>.hie (Unique based on display system)
- custom/MODELS/SURFACE_HIGHLIGHT_BRIGHTNESS/SURFACE_CONTRAST_RATIO_<program>.hie (Unique based on display system)
- COMMON/RELEASE/V1/DB/DB_MOVING_MODELS/TESTPATTERNS/MISC/LARGE_BLACK_SPHERE/LARGE_BLACK_SPHERE.hie
- COMMON/RELEASE/V1/DB/DB_MOVING_MODELS/TESTPATTERNS/MISC/LIGHT_POINT_CONTRAST_40X40X4DEG/LIGHT_POINT_CONTRAST_40X40X4DEG_NO_BKGND.hie
- COMMON/RELEASE/V1/DB/DB_MOVING_MODELS/TESTPATTERNS/MISC/LIGHT_POINT_SIZE_48X4DEG/LIGHT_POINT_SIZE_48X4DEG_NO_BKGND.hie
- COMMON/RELEASE/V1/DB/DB_MOVING_MODELS/TESTPATTERNS/RESOLUTION/SMEAR/SMEAR.hie
Continuous FOV
Description: 100m radius sphere with alternative black and white 5 degree squares.

- Clear out any existing test patterns
- Add the CONTRAST_SPHERE_5DEG.hie pattern and select Add Pattern
- Verify the Range field is set to 0.0
Light Point Size
- Clear out any existing test patterns
- Add the LARGE_BLACK_SPHERE.hie pattern to provide a base black background. It is advised to position the ownship eyepoint > 1000 feet in the air.
- Add the LIGHT_POINT_SIZE_48X4DEG.hie
- Adjust pitch and heading of the pattern to center it on a channel.
- Adjust the range as needed for testing.
- Repeat for the additional channels.
Light Point Contrast Ratio
- Clear out any existing test patterns
- Add the LARGE_BLACK_SPHERE.hie pattern to provide a base black background. It is advised to position the ownship eyepoint > 1000 feet in the air.
- Add the LIGHT_POINT_SIZE_48X4DEG.hie
- Adjust pitch and heading of the pattern to center it on a channel.
- Adjust the range as needed for testing.
- Repeat for the additional channels.
Smear
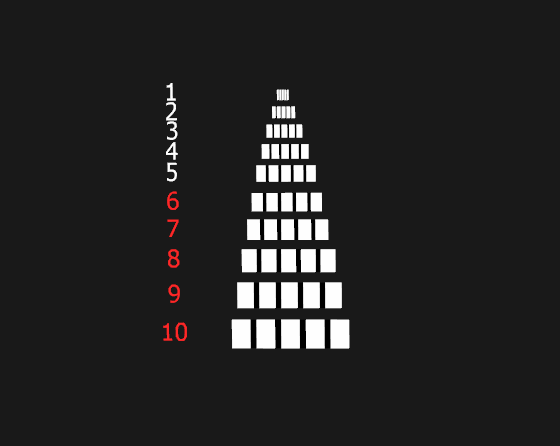
- Clear out any existing test patterns
- Select the SMEAR.hie pattern from the drop down and click Add Pattern
- To move the pattern across the screen select the Heading Radio button
- If you would like to oscillate the pattern back and forth, select the desired degree thresholds.
- Choose the rate of movement
- Click Start.
Surface Highlight Brightness
Description: Whit background with black outline square in the center of each channel.
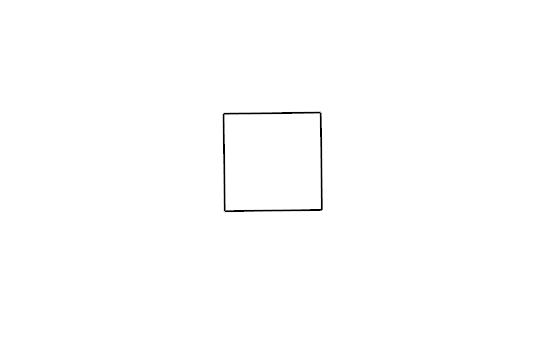
- Clear out any existing test patterns
- Select the SURFACE_HIGHLIGHT_BRIGHTNESS_<program>.hie pattern from the drop down and click Add Pattern.
- Verify the Range field is set to 0.0
Surface Contrast Ratio
Description: Black background with a white square in the middle of each channel

- Clear out any existing test patterns
- Select the SURFACE_CONTRAST_RATIO_<program>.hie pattern from the drop down and click Add Pattern.
- Verify the Range field is set to 0.0